.jpg)


.png)


.jpg)


.jpg)

.webp)


.webp)


You don’t have to wait for some big data integration project to get value from your company’s multiple Salesforce instances. Surface shared data right away with Crossbeam.

“I know someone at my company has spoken with this opportunity. But who?”
When you’re a business development, sales, or partnership professional that works for an enterprise-sized organization you know things on the SalesOps side can be, well, messy. It’s common for each department to have its own Salesforce instance, often containing the remnants of past acquisitions. “If I could all just combine and clean all our data,” you think, “It would be smooth sailing!”
The bad news: No one is going to clean all of that Salesforce data. And even if they did, combining all of your Salesforce instances could take more than a year.
The good news: You don’t need to. Using a partner ecosystem platform (PEP) like Crossbeam, you can tap into all of the Salesforce instances throughout your org before leading that cumbersome and lengthy project to combine them.
Using a 100% and totally free Crossbeam account, you can provide a lightweight way to have up-to-the-second info across all Salesforce instances with just a few minutes of work and have that information directly on the Salesforce record page. Which means every time you pull up a Salesforce record, you can know how (or if) your colleagues can assist with that account.

Once Salesforce instances are all connected in Crossbeam you can use it to:
- Map account owners across the organization to co-sell deals or gain internal introductions.
- Map in-flight opportunities to build co-sell stories for growing deal size and increasing close rates.
- Improve contact lists across the organization by mapping relationships in other divisions along with the corresponding relationship for introductions.
- Assure that every Salesforce record is updated right away when another division adds or modifies an account.
- Easily add new Salesforce instances as your company grows or acquires new businesses.
- Run cross-divisional reports now that data can reside in both instances in near real-time.
- Trigger workflow processes based on other department’s data.
Get to value right away, even as you are assessing your long-term strategy (and CRM tech stack).
Here’s how:
1: Get CRM credentials
Before we begin, some preparation is in order. To connect Salesforce you’ll need the username and password for all of your Salesforce accounts. Chances are, you don’t have that information. Two suggestions:
- Invite the Salesforce account admin(s) to a brief working session and walk through the following steps together.
- If a real-time collaboration isn’t possible, this tutorial will provide a template for sending an invite.
2: Sign up for a Free Crossbeam Account
If you’re not already a member of the Crossbeam network, sign up for Crossbeam’s free tier. Crossbeam finds overlapping customers and prospects with your partners (or, in this case, your colleagues) while keeping the rest of your data private and secure. You’ll be able to have unlimited partners and users, making it an easy way to test this workflow.
3: Connect Salesforce
Now that you’re registered, you’ll need to connect Crossbeam to Salesforce so when one of your reps updates a record in Salesforce it is reflected in Crossbeam. Whenever someone in your company updates a record it will be reflected in every Salesforce account connected to Crossbeam. This allows your internal “account mapping” to happen in real-time.
To connect Salesforce, you can follow along in this video.
Or you can follow the steps below:
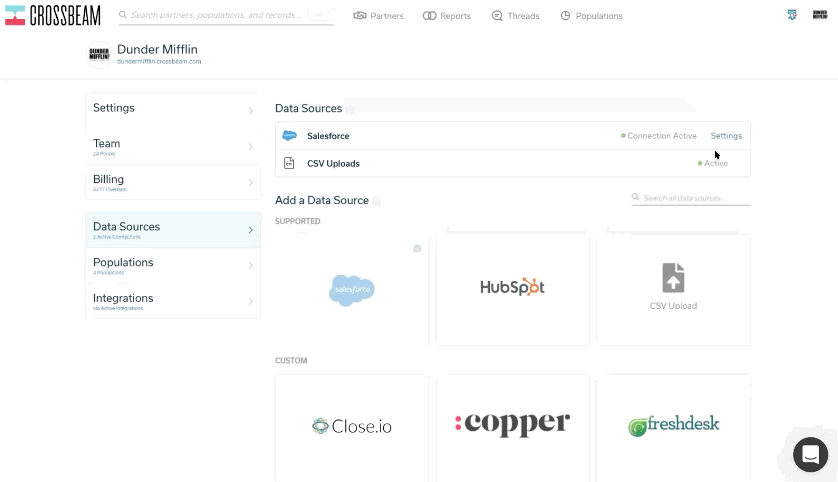
- Navigate to “Data Sources” in the user menu (that circle in the upper-right corner).
- Scroll to the “Salesforce” integration and click to connect.
- Authorize access to Salesforce data.
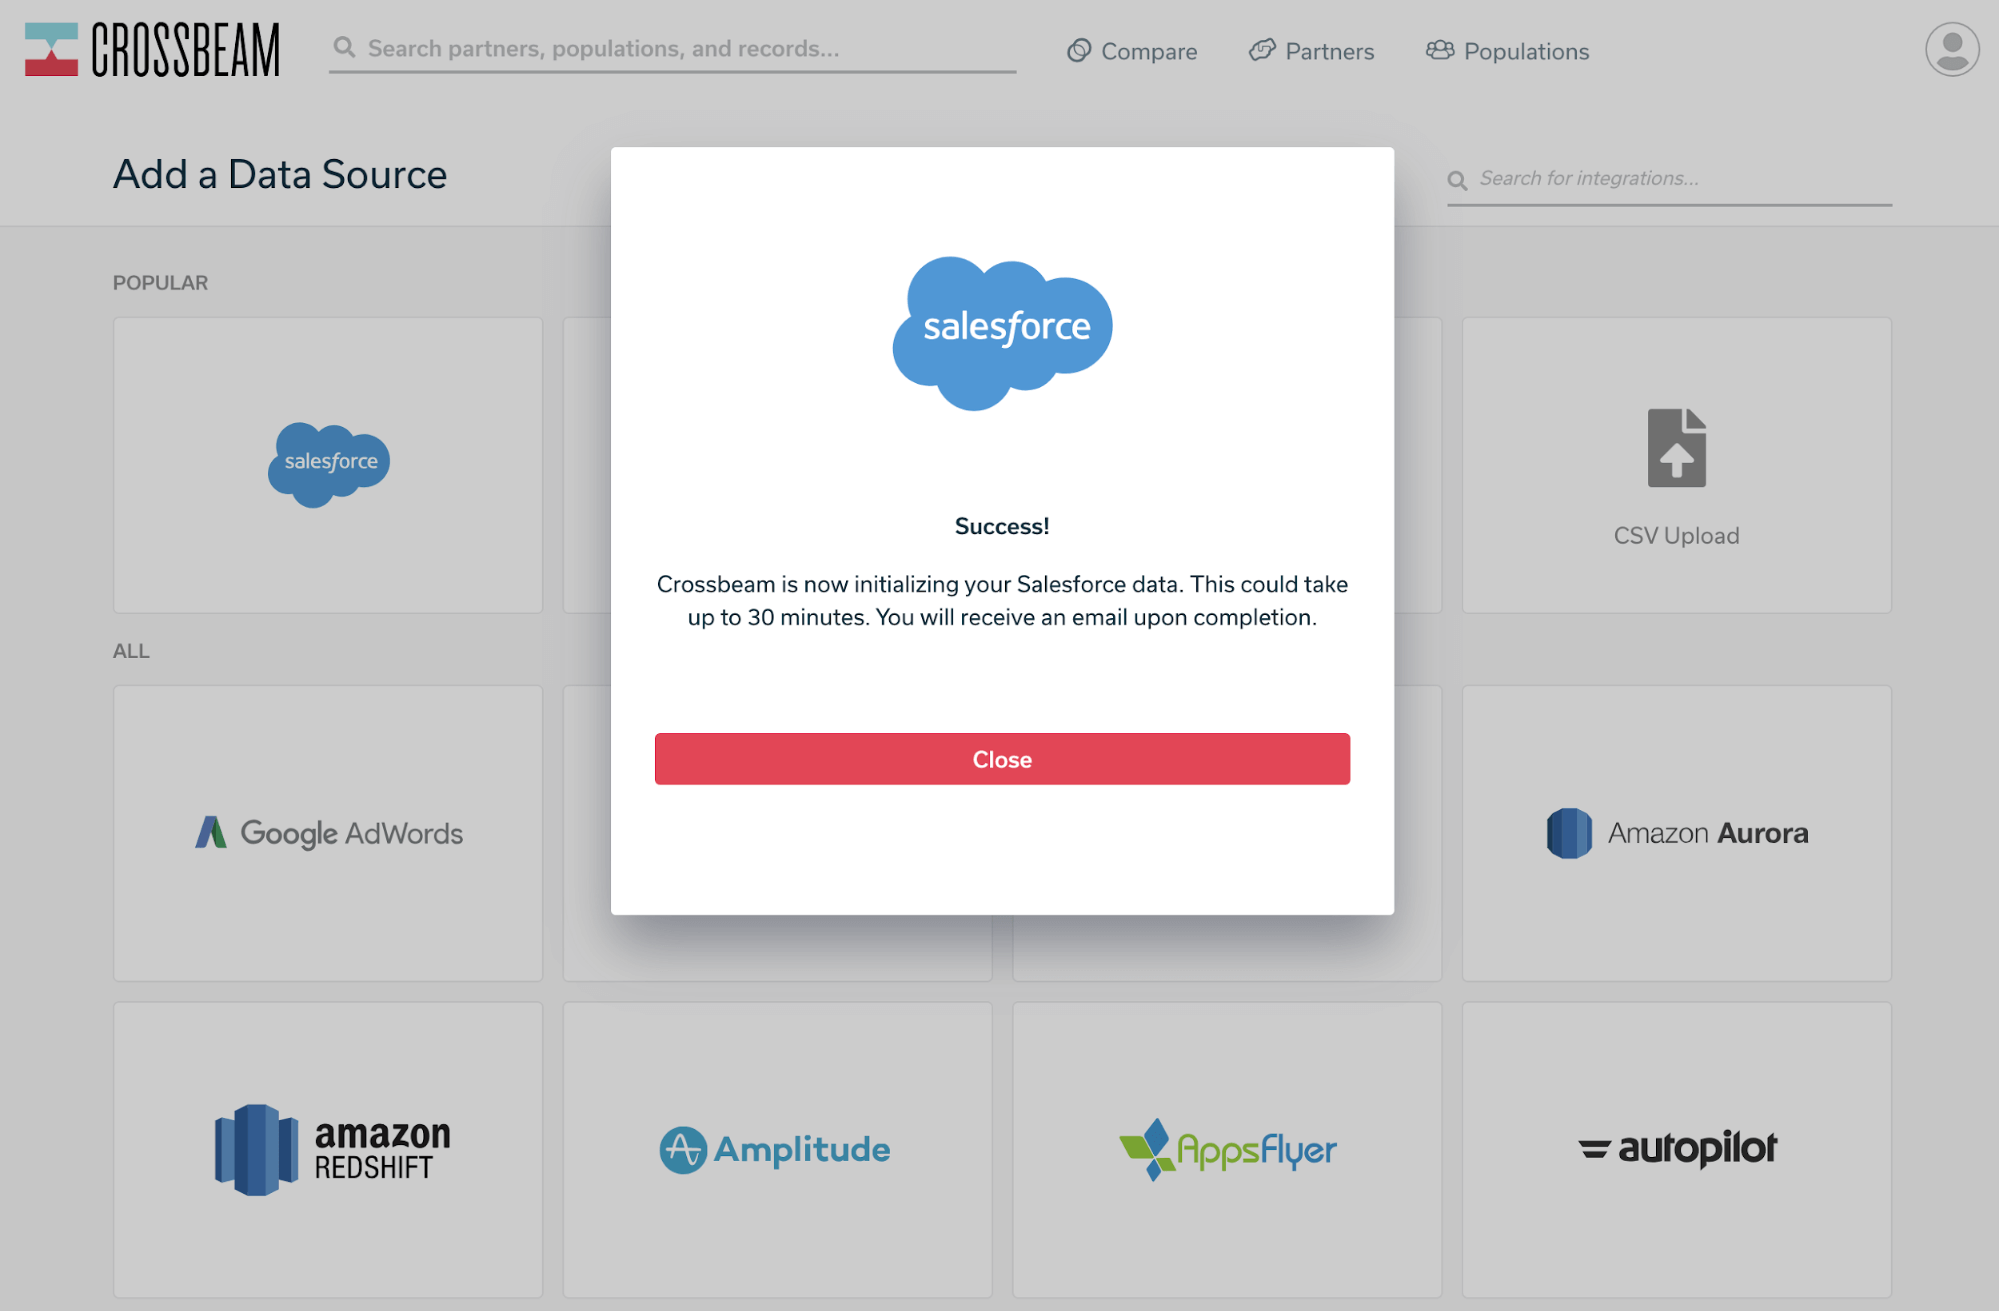
After your credentials are accepted, you should be met with this screen (if not, reach out, we’ll help you through it):
Now it’s time to create populations. Click on the “Populations” in the top menu, and then “Create Population”.
There will be some pre-filled populations. Choose the one that best fits your use case.
- Create a Customers population if you’re doing some internal integrations between solutions or want to sync your CSMs across departments.
- Create Prospects AND Customers populations if you’d like to source some Ecosystem Qualified Leads and help get warm introductions into accounts.
- Create an All Leads population if you’d like to find co-selling opportunities.
- Or, we suggest creating all three and use the guide below for possible motions:
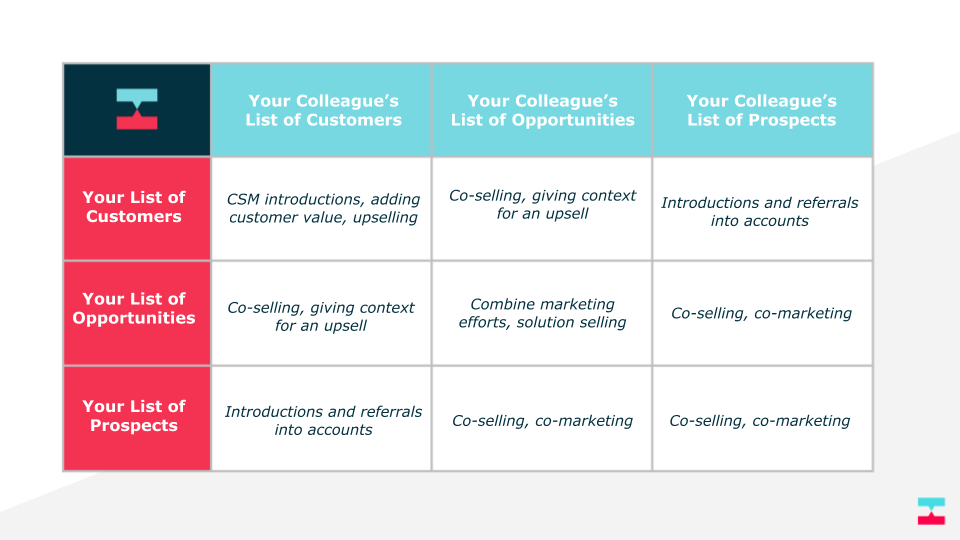
These populations allow your counterparts in other divisions to understand the relationship with your data.
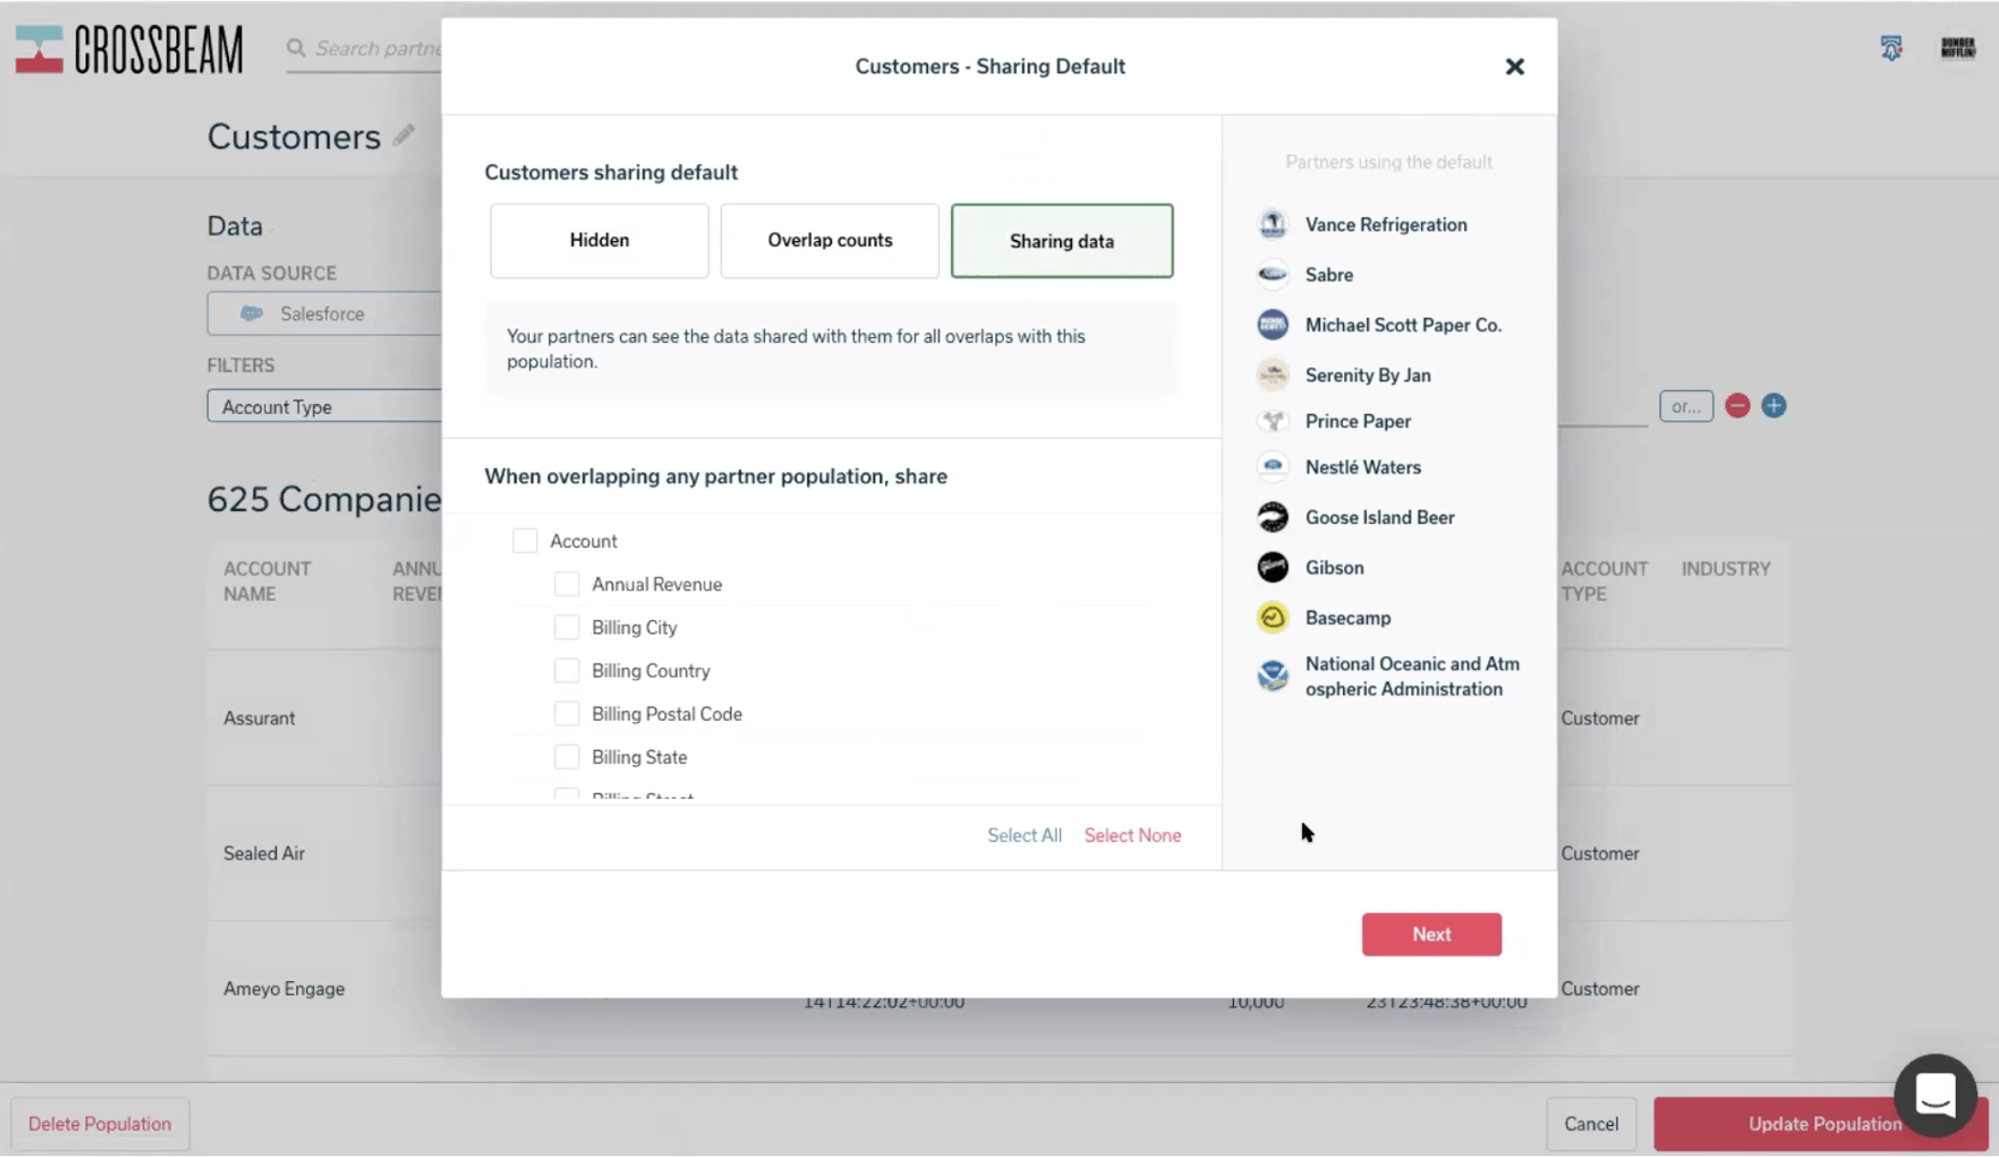
You will then be prompted to select the sharing default of your population. This is the visibility of your population applied to ALL of your partners.
- If you have other external partners (See “Partners using the default” on the right of the module) and don’t want this population shared with all of them, you should set your visibility to “Overlap counts.”
- If you only have internal partners, you’ll probably want “Sharing Data” selected.
If you’re not sure, reference our Data Sharing help doc for the best approach. You can set partner-level visibility if you’d like some data to be visible internally but NOT to your external partners.
That’s your first CRM and population! Now we’ll need to add the others.
4: Incorporate each additional CRM as a partner
Now that you have your Salesforce connected, you’ll need to have your colleagues do the same.
Again, you can all hop in a room and do as a working session. Or, you can send your colleague an invitation link. This allows your colleague to create their totally separate Crossbeam account that will be prompted to connect with your account at signup. By clicking this link your colleagues will be onboarded and automatically partnered with you. Head to your Partners page and copy the link in the upper right-hand corner.
Send that link to your colleague along with step 3 of this guide. You can send them this anchor link.
They’ll be taken to a special page and invited to partner with you and connect their own Salesforce.
Important note:
- If you want to manage the Salesforce accounts for your colleagues after they connect, they need to add you as admin on their account. (See our help doc on adding users)
- If your colleagues will be managing their own Crossbeam account, they’ll just need to connect Salesforce.
After they sign up, you’ll have to accept their invite on your Partners page.

5: Test everything is working
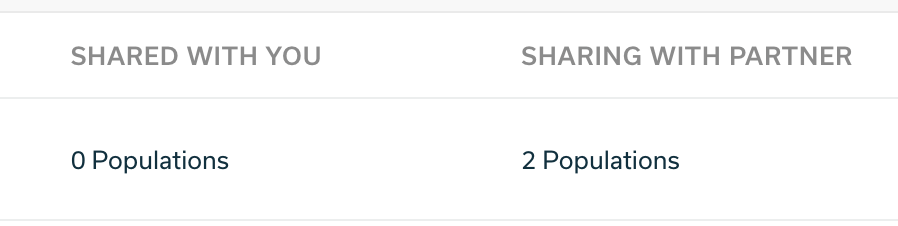
Whew. So now you have several connected Crossbeam accounts, each with their own Salesforce instance. Your populations should all be visible to your main account. To test this, head to your Partners page. You should see each of your sub-accounts with the number of populations shared.
Good:

Bad:
If this is the case, switch to your colleague’s account (or ask its admin) to adjust your population sharing rules on the Populations page.
6: Install our Salesforce App and push the data back into Salesforce
Now, the fun part. With all of your Salesforce installs connected, Crossbeam can be a Rosetta Stone of sorts allowing you to explore all of your company’s Salesforce installs without any manual data editing. You can have all of that combined data get pushed back into Salesforce in real-time — effectively combining your Salesforce installs. This means that when another division makes contact with someone you have in your Salesforce installs, it will automatically be reflected in your Salesforce account.
To do that, make sure you install our Salesforce app.
Or if you’re impatient, you can run reports directly in Crossbeam. Head over to your Reports page. and surface overlaps between the main account and any number of sub-accounts. Some example reports you can run:
- Compare Customer populations across your customer success teams to see where you can combine account reps.
- Compare Prospects to see if other parts of your company are selling into the same company.
- Compare your Prospects to other department’s Customers to get a warm introduction.
And that’s it! If you’re having trouble we’re always here to walk you through it. We’re even happy to get all of your colleagues on a call and conduct a working session. Just drop us a line.


